Gradient nail art, also known as ombre nails, offers a mesmerizing and seamless transition of colors that adds depth, dimension, and visual interest to your manicure. Whether you prefer subtle gradients for a soft and delicate look or bold gradients for a striking statement, this versatile nail art technique allows you to showcase your creativity and style with ease. In this guide, we’ll explore the art of gradient nail art, including various techniques, color combinations, and essential tips to help you achieve stunning and gradient manicures that capture attention and elevate your look.
Section 1: Understanding Gradient Nail Art:
1.1 What is Gradient Nail Art?: Gradient nail art involves blending two or more colors seamlessly on the nail, creating a gradient effect that transitions from one color to another or from light to dark, resulting in a captivating and dimensional manicure.
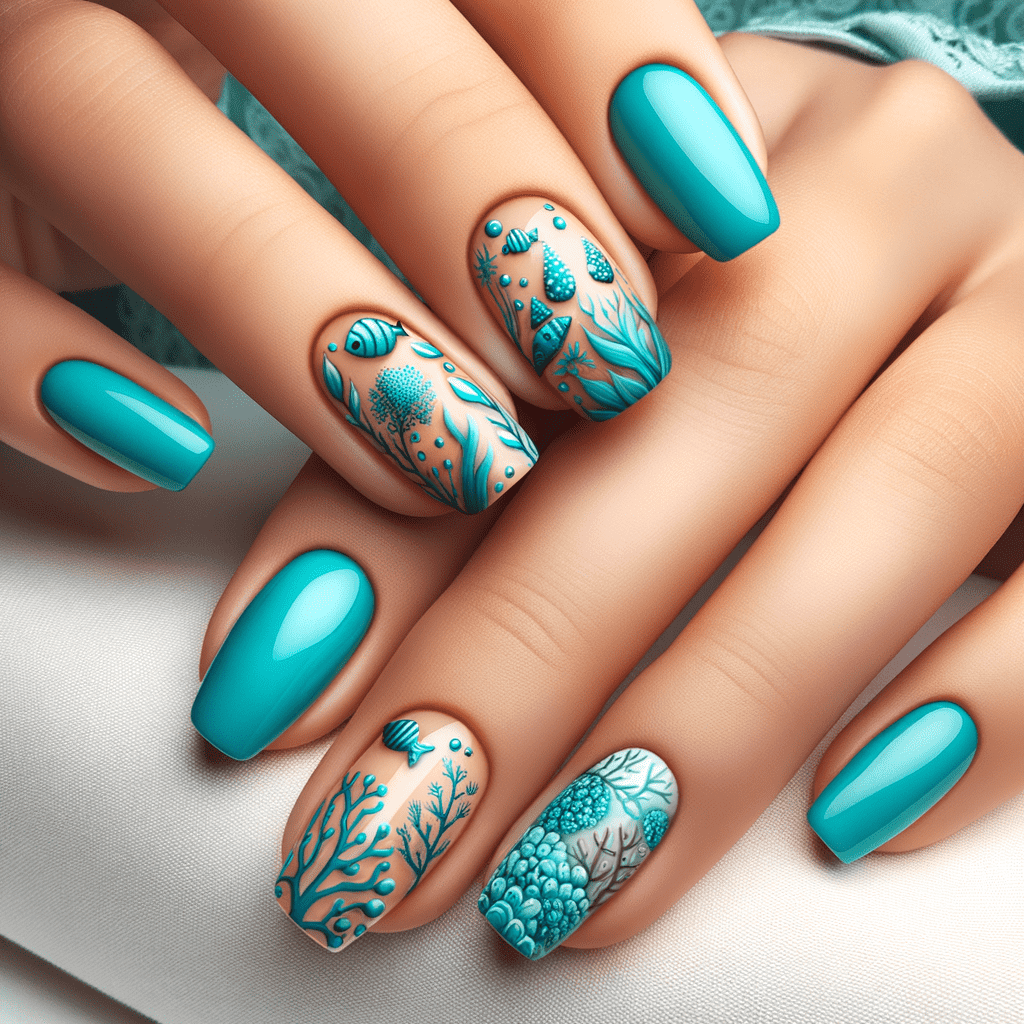
1.2 Versatility: Gradient nail art is versatile and suitable for any occasion, from everyday wear to special events, allowing you to customize the color combination, intensity, and style to suit your mood and personality.
1.3 Techniques: Gradient nail art can be achieved using various techniques, including sponge gradients, brush gradients, dry brush gradients, and water marble gradients, each offering unique results and creative possibilities.
Section 2: Creating Gradient Nail Art:
2.1 Sponge Gradient Technique: Apply two or more nail polish colors onto a makeup sponge in overlapping stripes, then dab the sponge onto the nail in a rolling motion to transfer the gradient onto the nail, repeating as needed for opacity and blending.
2.2 Brush Gradient Technique: Use a flat nail art brush or makeup brush to apply multiple nail polish colors in horizontal stripes onto the nail, then blend the colors together using gentle strokes or a dry brush technique for a seamless gradient effect.
2.3 Dry Brush Gradient Technique: Apply a base color onto the nail and allow it to dry completely, then use a dry nail polish brush to lightly dab and blend a second color from the tip or base of the nail towards the center, creating a subtle gradient effect.
2.4 Water Marble Gradient Technique: Create a water marble design using multiple nail polish colors in a water basin, then dip the nail into the water to transfer the marble pattern onto the nail, adjusting the positioning and swirling motion to achieve the desired gradient effect.
Section 3: Color Combinations and Inspiration:
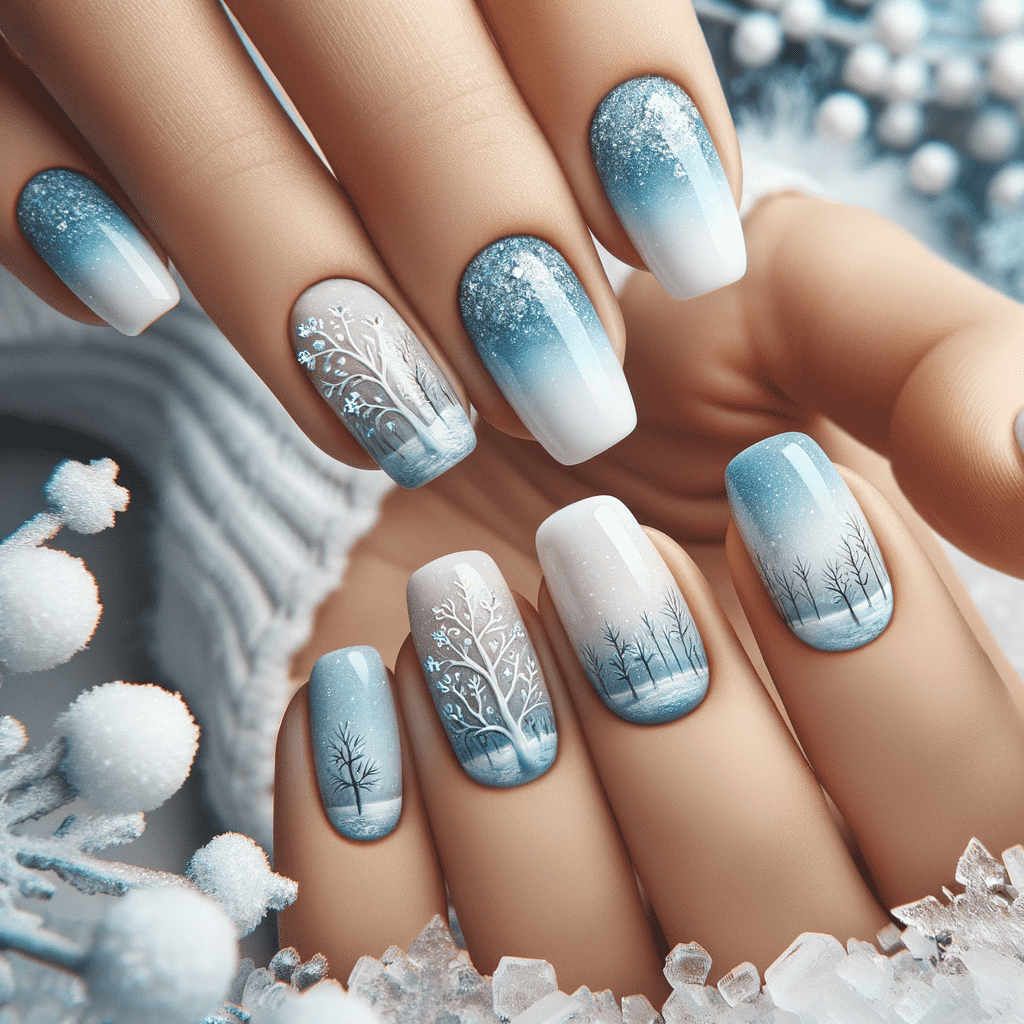
3.1 Classic Ombré: Create a classic ombré gradient using shades of the same color family, such as light pink to dark pink or light blue to dark blue, for a soft and subtle gradient that exudes elegance.
3.2 Vibrant Rainbow: Experiment with a vibrant rainbow gradient using a spectrum of colors, such as red, orange, yellow, green, blue, and purple, for a bold and playful manicure that radiates joy and positivity.
3.3 Pastel Dreams: Embrace soft pastel hues for a dreamy and ethereal gradient, combining shades of lavender, mint green, baby blue, and soft pink for a delicate and romantic manicure that’s perfect for spring.
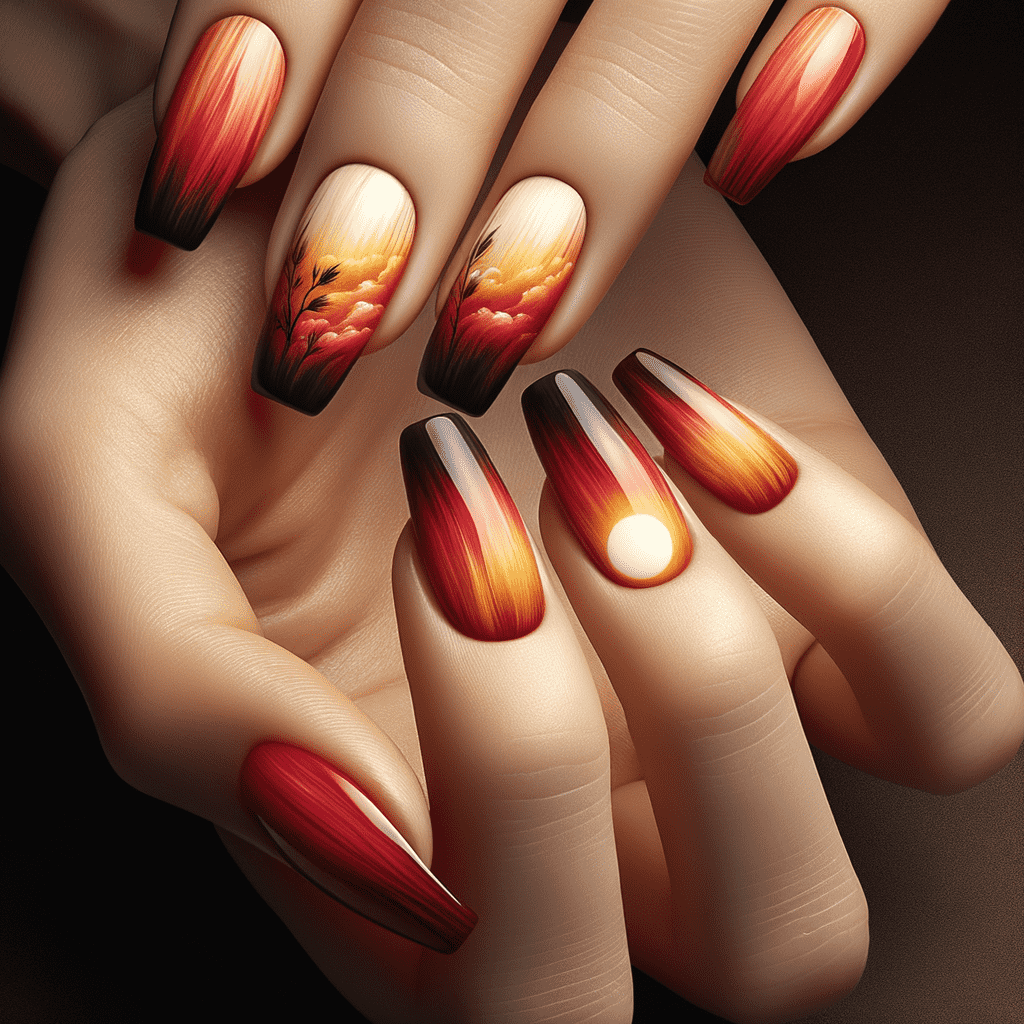
3.4 Sunset Ombre: Capture the warm hues of a sunset with a gradient manicure featuring shades of orange, peach, pink, and purple, blending seamlessly to mimic the colors of the sky as it transitions from day to night.
3.5 Galactic Glamour: Explore cosmic-inspired gradients with metallic or holographic nail polish, combining shades of silver, gold, navy blue, and deep purple for a celestial and glamorous manicure that’s out of this world.
Section 4: Tips for Perfect Gradient Nails:
4.1 Nail Prep: Begin with clean, well-prepped nails by shaping, buffing, and applying a base coat to ensure a smooth and even surface for your gradient nail art, allowing the colors to blend seamlessly.
4.2 Practice Patience: Take your time and work slowly and deliberately when creating gradient nail art, focusing on blending the colors together seamlessly and building up opacity gradually for a flawless finish.

4.3 Clean-Up: Use a small brush dipped in acetone or nail polish remover to clean up any excess polish around the cuticles and skin, ensuring a clean and polished look for your gradient manicure.
4.4 Seal with Top Coat: Finish your gradient nail art with a glossy or matte top coat to enhance shine, protect your manicure from chipping, and prolong the wear of your gradient nails, ensuring they look stunning for days to come.
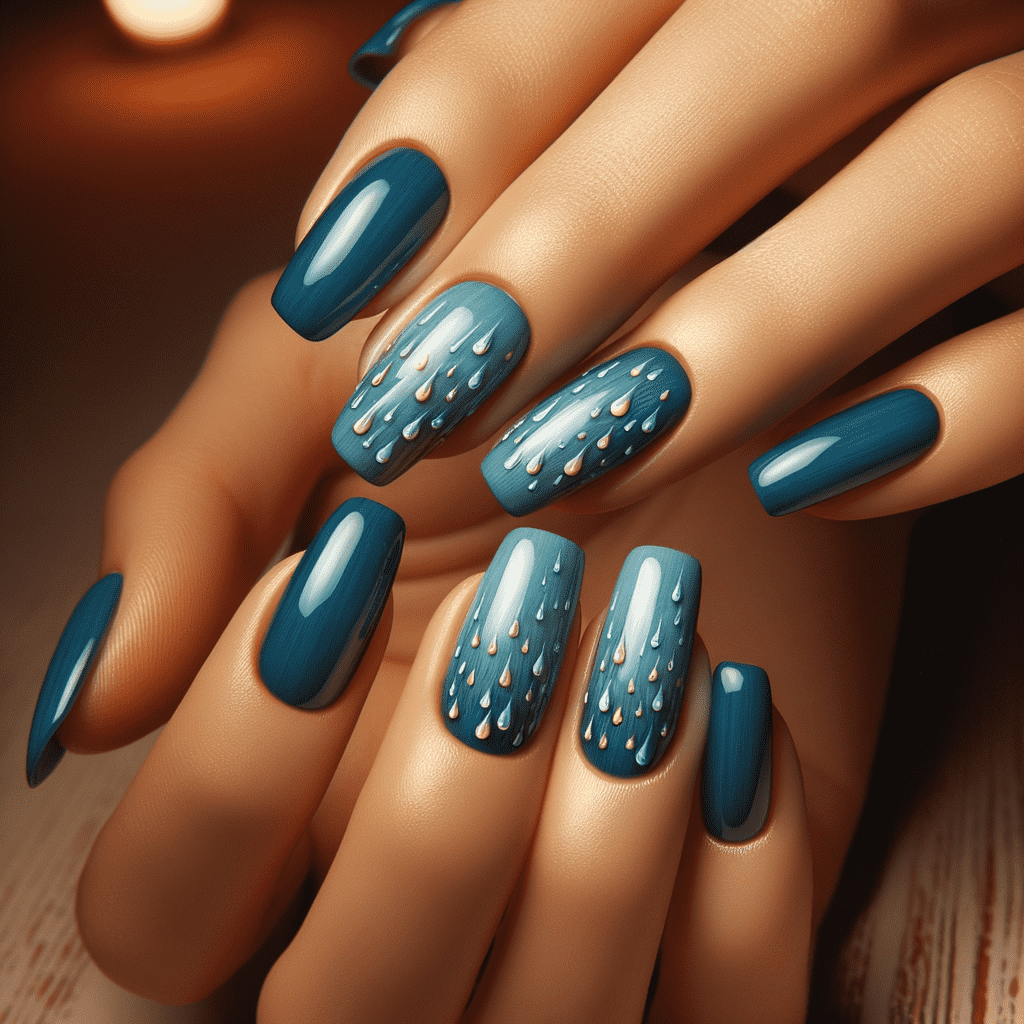
4.5 Experiment and Have Fun: Don’t be afraid to experiment with different color combinations, techniques, and designs to create unique and personalized gradient nail art that reflects your style and creativity, and most importantly, have fun with it!
Conclusion:
Gradient nail art offers a mesmerizing and versatile way to elevate your manicure with seamless transitions of colors that capture attention and express your style. Whether you prefer soft and subtle gradients or bold and vibrant ombrés, the art of gradient nail art allows you to unleash your creativity and showcase your personality with stunning and dimensional manicures. By exploring various techniques, color combinations, and essential tips, you can achieve flawless and gradient nails that exude elegance, sophistication, and individuality, making a lasting impression wherever you go.


